In this article, we will step by step consider the process of installing and connecting a home single-phase electricity meter.
It must be said right away that before installing the meter, you must contact the relevant authorities (local power grids) to obtain permission to replace the meter. You should also pay special attention to the safety of the seals on the meter terminals and on the meter itself.
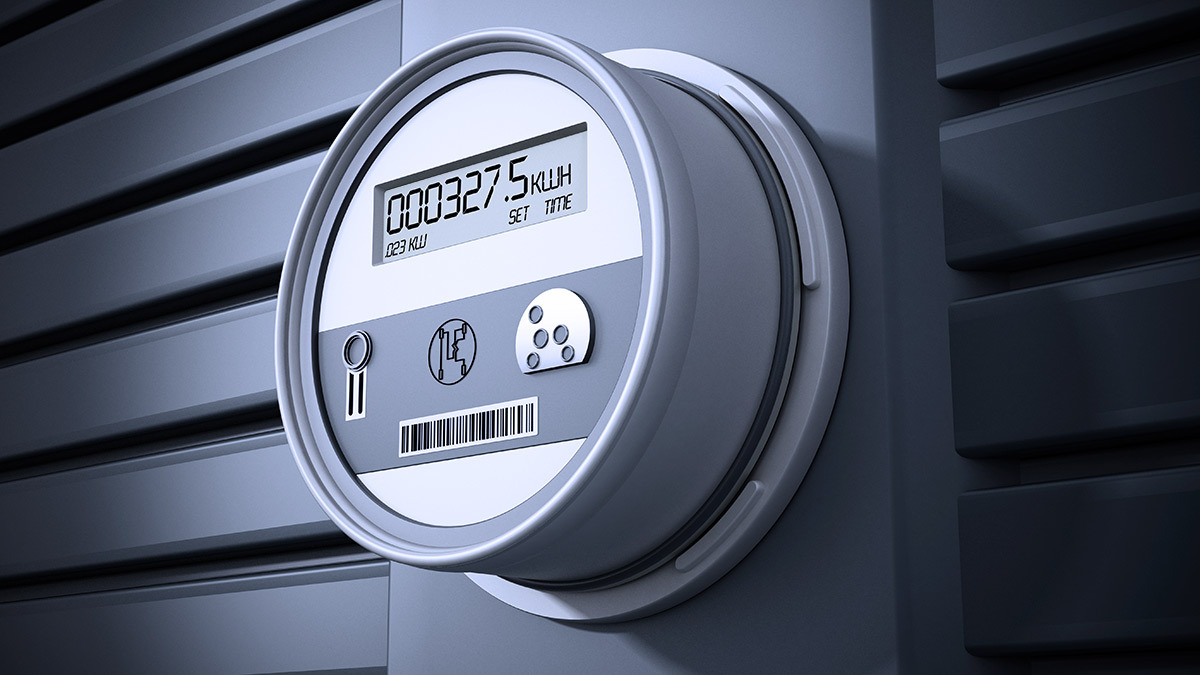
So, in the apartment there was a painfully familiar old meter with two plugs (old-style automatic switches). The owner asked to see why the plugs were knocked out so often, and suggested that it might be necessary to change them to a higher current - from 16 A to 25 or even 32 Ampere. An inspection showed that the electric meter is old - from the sixties, and it has no future.
Therefore, we agreed to replace the meter, and at the same time the machines, and at the same time the entire electrical panel.
Here's what we had initially:
We’ve prepared, we’ve figured out everything, we move on. We turn off the input circuit breaker (switch) before the meter, thereby de-energizing the meter and ensuring comfortable and safe operation. We remove the seal, unscrew the cover under which the input and output terminals are located.
Here it wouldn’t hurt to turn on the input machine and, just in case, check the correctness of the connection diagram using an indicator screwdriver (phase indicator). You never know what happened before, what miracles happened here in the past :), and you have to be completely confident in your work.
Let me remind you that the four power contacts of an electric meter are always arranged in this order:
- Input phase, comes from outside
- The output phase goes to power our consumer
- Input zero
- Output zero
Removing Old Meter
Carefully unscrew the terminals and the meter itself. In this case, you need to be especially careful with the wires coming to the meter if you do not plan to change them. We still have to screw these wires to the new meter.
Unscrew the plate, carefully pulling out the wires. Before doing this, it is better to mark the wires with a marker, so that later you don’t have to think too much about what comes from where and where. I usually mark the phase in black.
The wires are a bit short, and we don’t need additional contacts. Therefore, you will need to try to install the meter higher by a few centimeters. Under no circumstances do we throw away the old meter (and the seal!); the owner of the apartment will need it when re-issuing documents.
Electrical Panel Installation
To install the CO 505 meter, we use an Apartment plastic panel of the ShchK type (I remind you that this is a low-budget replacement option). Here is the lower part of the electrical panel, which is attached to the wall:
Self-tapping screws indicate three plastic inserts included in the shield kit, to which the meter will be attached. These inserts move freely (and can fall out freely) in their grooves.
It is very important that the back panel is secured without kinks, so that later you can put the top cover on it without any problems and that the machines fit smoothly. For installation we use a carrier (powered from neighbors), a hammer drill, 6 or 8 dowels, and self-tapping screws.
Important! The counter must be installed at a height of no more than 180 cm (at eye level). This is a very important requirement from sealers and inspectors. And in general, it is much easier to take readings every month without the help of a stool.
I usually don’t disturb my neighbors, I connect via a two-pole circuit breaker to the existing wires in the apartment, and carefully make the necessary holes for the dowels.
Installation & Connection
We install the meter by mounting it on self-tapping screws to the plastic inserts.
We swear to ourselves that we will not use such shields in the future, and we will install meters only on DIN rails.
Important point. The electric meter terminals have two screws. Before installing each wire, it must be stripped to its entire length, and then clamped onto the far screw. Make sure that the wire is mechanically securely fastened to the terminal. Only after this do we tighten the nearest screw.


