When manufacturers began mass-producing compact fluorescent lamps, they claimed that they saved energy. And money? After all, their service life is stated to be 1000 hours, just like the 60-watt Ilyich light bulb, but they cost more.
A solution arises - if an energy-saving lamp burns out: you need to do the repairs yourself and prolong its life.
Then I share my personal experience in this matter, explaining in detail the main stages of troubleshooting technology with photographs and diagrams.
The design of a CFL and the physical processes that cause the gas discharge of a conventional fluorescent lamp to glow are identical. The differences lie in the element base from which the control gear circuit is created and the dimensions of the lamp.
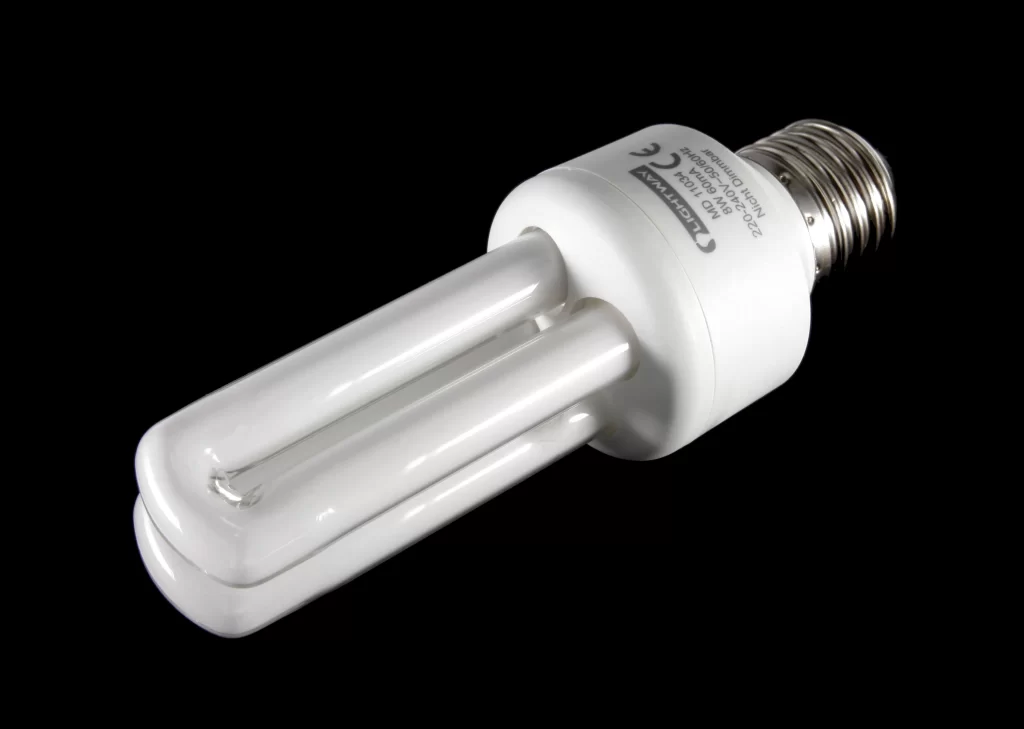
A compact lamp is screwed into a regular socket, while a simple fluorescent lamp is made with a long tube.
Using the latter as an example, it is more convenient to explain the basic principles of operation of the lighting circuit, which are necessary for the repair of both structures. Without their understanding, there is no point in taking up a soldering iron and a screwdriver.
How fluorescent lamps work: 4 phases of start-up and shutdown - a simple explanation
Inside the sealed space of the glass flask there are mercury vapors that create an ultraviolet radiation spectrum. It is converted into visible light by a phosphor deposited on the inner surface of the tube.
The gas discharge that causes the glow flows between the electrodes formed by the filaments. To ignite it, a throttle and a starter are used.
Energy-saving lamps: operating principle of the lighting circuit in pictures
The operating principle of CFLs is the same as I showed briefly above. The same processes occur here:
heating the filaments to ensure electronic emission;
breakdown of the gaseous medium by a pulse of increased voltage;
prevention of arc fault.
How to disassemble energy-saving lamps: tips for beginners
I will describe and show with photographs my personal experience. I admit that some products may have differences.
The lamp body consists of two detachable parts. The gap between them is barely noticeable. It can be filled with sealant or without it. This can be determined with a thin, sharp blade. For example, a stationery knife.
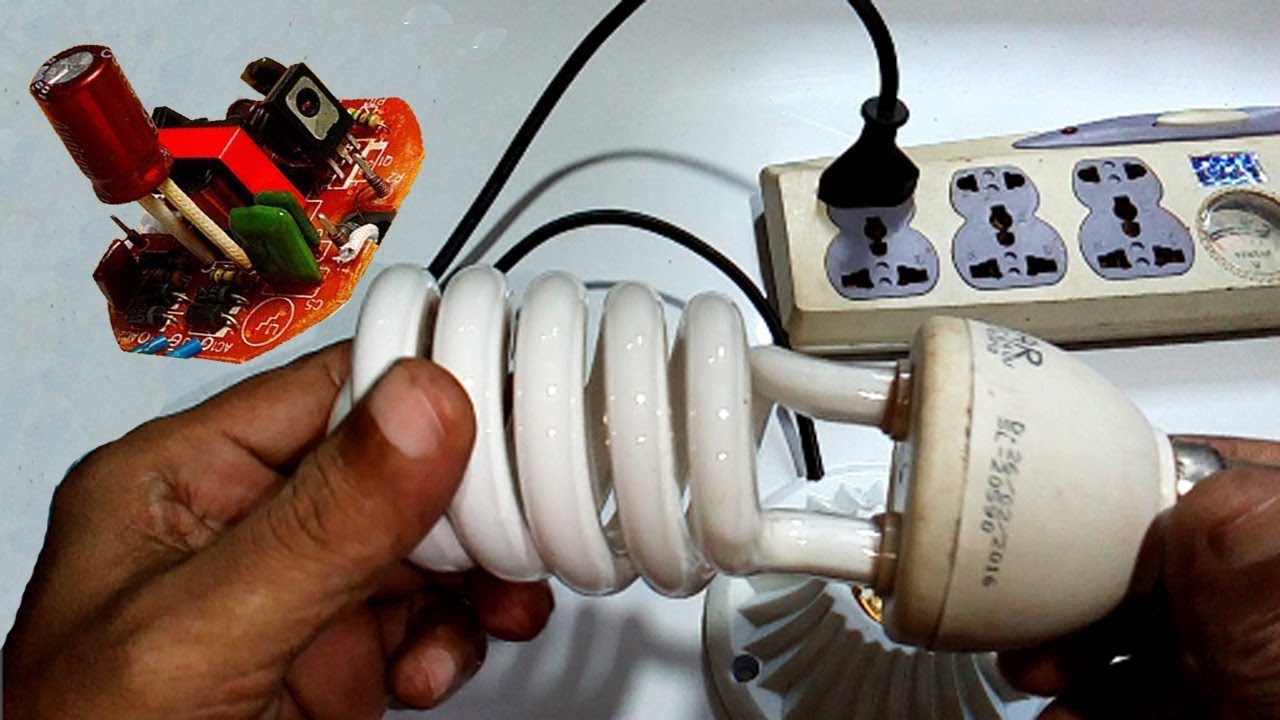
Electronic ballast repair: what to look for
The easiest way to check the serviceability of ballasts is to connect them to a bulb with intact filaments and apply an input voltage of 220. If the lamp lights up, then the electronic ballast is working. Otherwise, you need to look for faults.
Usually, the owner buys not one, but several identical lamps in the store for lighting purposes. When they fail, they should not be thrown away, but the cause of the failure should be checked.
Quite often you can assemble one serviceable one out of two damaged ones. There will still be spare parts that will also come into use over time.
I outlined the principles of constructing circuits for pulse converters and the main types of their designs in a separate article for novice craftsmen. I recommend checking it out. Many provisions will be useful when troubleshooting problems that arise.
Safety tips for repairing energy-saving lamps
I assume that you have experience working under voltage, but pay attention to:
- use of an isolation transformer;
- use tools only with dielectric handles;
- eliminating cases of unstable body position;
- the need to turn your face away from the equipment being tested when voltage is applied and to place the electronic ballast and flask just in case in some box with a lid.
To better retain the material in your memory, I recommend watching the video of the owner of Virtyal plus.